Table of Contents
In the last post, we saw how to add custom HTML above the short description on the product page. Today, we will see how we can add content after the ‘Add to Cart’ button on the product page. There can be many things that you want to add after the button. One such idea is to add a security seal to your website so as to increase the trust factor.
A trust badge or security seal will increase the buyer’s confidence. Customers are more likely to buy from your website if they have confidence in your checkout process. These badges or seals also help in increasing your conversion rate.
As we know, WooCommerce comes with lots of hooks & filters. In order to add content after ‘Add to Cart’ button, we have an action hook called ‘woocommerce_after_add_to_cart_button‘. This action hook can be found in all single product templates like simple.php, variable.php, external.php & grouped.php.
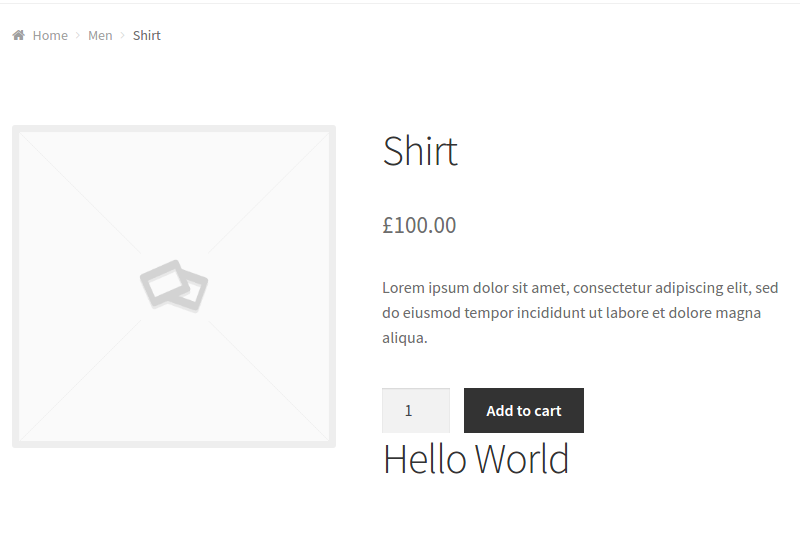
As always, let’s start with a simple example. We will display a simple “Hello World” message below the button. Let’s create a function called show_content_after_add_to_cart() where we will just echo some content.
The message won’t be displayed on the product page as we haven’t added our hook yet. We need to attach this function to our ‘woocommerce_after_add_to_cart_button‘ hook.
Now, you can see the message displayed on the product page, below our ‘Add to Cart’ button.

This was just an example to see how we can use the hook to display contents on the product page below the Add to Cart button.
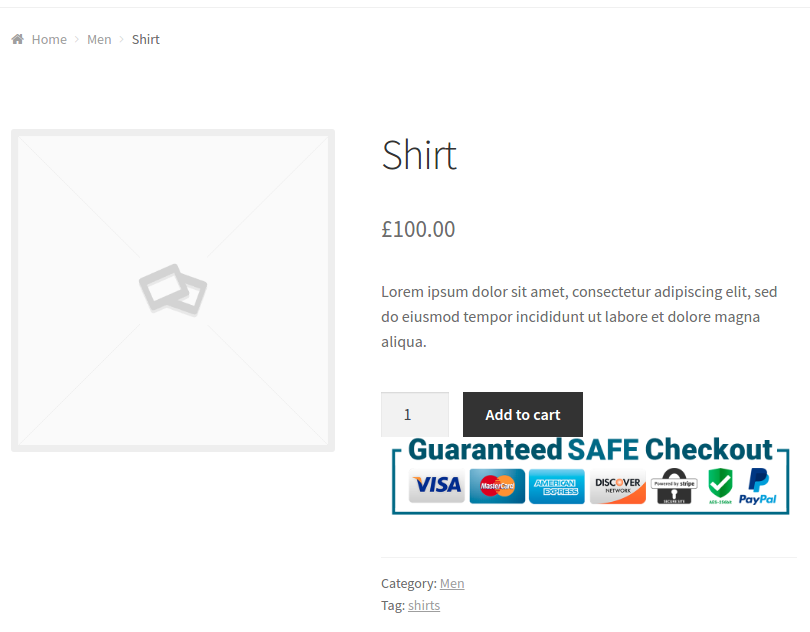
Now we will see where we can actually use this hook in our eCommerce website. Many online stores contain some type of security seal to increase their trust factor. A security seal can be an image which displays the type of checkout methods available for the store. Let’s add an image of the seal on our product page. The method to add an image will be same as we saw in the last post.

The image will now show up on the product pages below the button. You may want to add this image to particular categories, a particular product or for particular tags.
Show image below Add to Cart button by Category ID
Let’s create a product category called ‘Men’ and display the image for the products belonging to the Men category. We can do this by fetching the categories from get_the_terms() method and looping over them. The get_the_terms() function takes two arguments – post ID and taxonomy name.
The taxonomy name for product categories is ‘product_cat’. The categories have a property called term_id which defines our category ID. We check each ID against the ‘Men’ category ID (which in this case is 15), and if it matches we display the image.
Show image below Add to Cart button by Category Slug
Another method to display the image by category is by checking the category slug. The method is same as category ID, we loop over the categories and check each category slug against the Men category slug (which is ‘men’ in this case).
Show image below Add to Cart button by Product ID
We can display the image on selected products too. Select the product IDs where you want to display the image. Loop over them and see if the current product is in it. If it is, then display the image.
Show image below Add to Cart by Product Tag
We can also display the image based on the product tags. The method is same as category. We get all the tags from get_the_terms() function with two arguments – post ID and taxonomy name. The taxonomy name for product tags is product_tag. Let’s say we want to display the seal for the products with the tag called ‘shirts’. If there are no tags defined, we just return back from the function.

Show image below Add to Cart from an HTML file
Our code currently contains HTML & PHP in one file. But you may want your views to be separate from your logic. In that case, move all the HTML code in the separate .html file. Include the file in your main PHP file using include() or include_once() function. In this case, if we put our HTML in ‘after-add-cart-html.html‘ file, we include it in the PHP file where we want to display it.
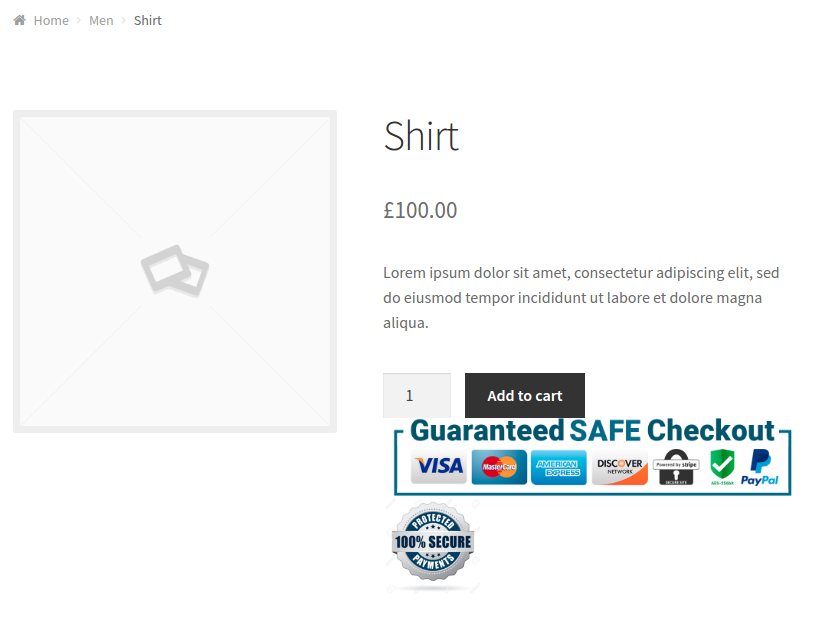
We can also show multiple seals below the Add to Cart button.

The woocommerce_after_add_to_cart_button hook places content inside the cart form. As you can see our image is placed just below the button with no space in between. Of course, we can add some spacing in between them with some CSS styling.
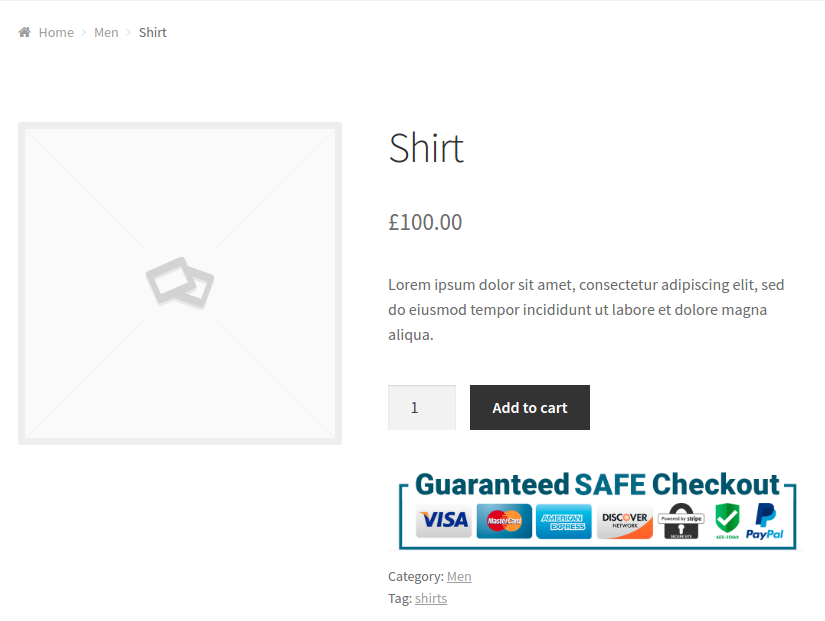
There’s one more hook which can help us with this – ‘woocommerce_after_add_to_cart_form’. The woocommerce_after_add_to_cart_form hook places content outside the cart form. This means that the HTML we created for our content will be placed after the form on the product page. Here’s an example –

As you can see, the image is placed after the form and it has created some spacing in between them.
We learned about two hooks :
woocommerce_after_add_to_cart – places content inside the form below the add to cart button, woocommerce_after_add_to_cart_form – places content after the add to cart form.
If you just want to add an image, the woocommerce_after_add_to_cart_form hook is a much better choice.
Many sites have different kinds of badges like – a ‘Limited Quantity’ seal, an ‘Assured’ seal, or any seal which increases the trust of the buyer on the product and the store. If you don’t have a guarantee safe checkout on your WooCommerce store, you should be adding it right away!


Hello, i tried to put the code on my sites functions.php
but the image is not after Add to cart button but instead it Is on topmost part of the site, can you help me? thanks
Thanks for the post.
after reading this, i just got a lot more confused. not sure if this is for a total beginner. can you please show how to add trust seal for total beginner ?
Like a step by step guide, from finding where to put the code and how to put the code?
Thanks
RIchard
Hi, i tried to use code for “Show image below Add to Cart button by Product ID” but it didn’t work I put the code in funcations.php
can you help with entering custom text content based on product ids. will really appreciate if you can help with it.
I tried this code and work, but when a product has variation there are two time same text, how can I fix it?
Thanks
could you please make a more begginer-friendly tutorial, with a more step-by-step approach?
this feels really oversimplified, and so many steps left out.
Hi ed,
Thanks for the feedback. What do you think was left out? Is there anything specific you think I missed?
i don’t know where to find the hook and filters, i’ve been searching my theme editor but i still cannot find it