If you are running a booking business then it is also important to present some important elements in a simpler, understandable, and easier format. If customers had a terrible booking experience then it will reduce their likelihood of booking again on your site.
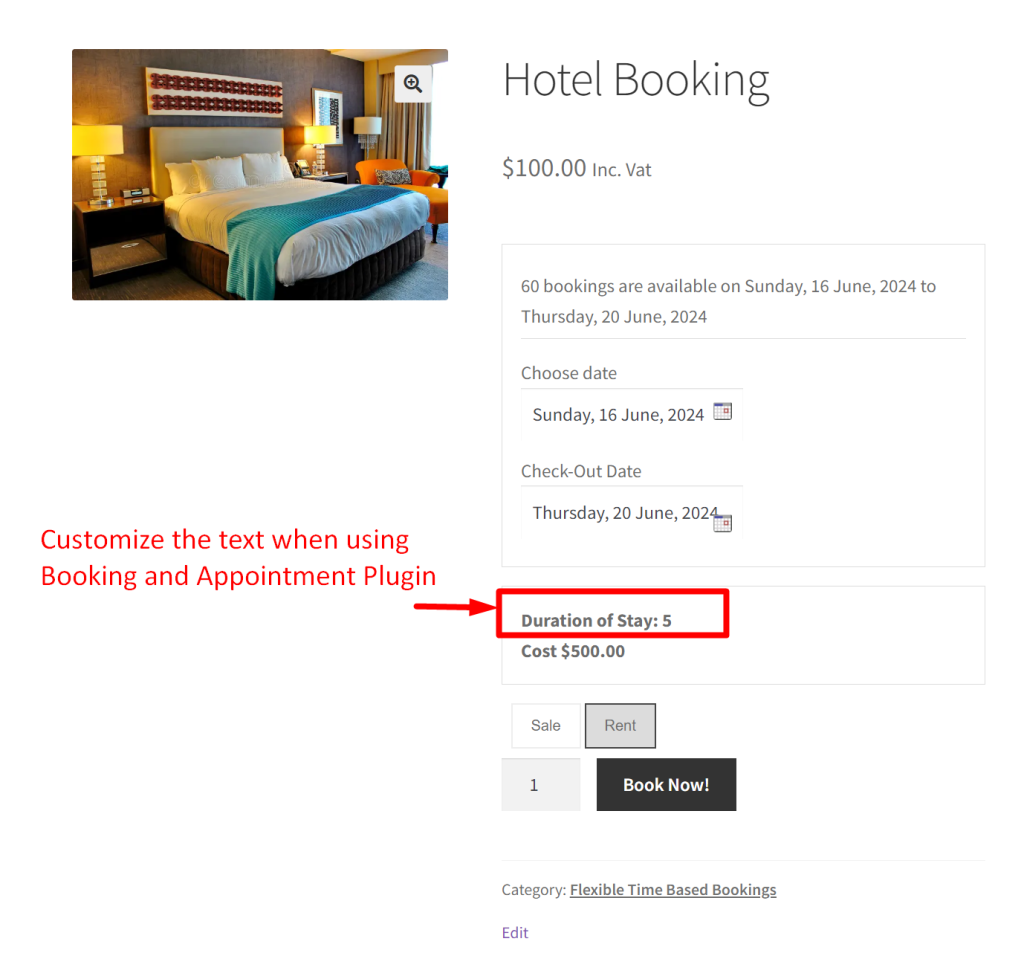
For example, if customers are booking a hotel, in such scenarios instead of showing ‘No of Days Selected’ we can customize the text to ‘Duration of Saty’ that aligns perfectly in the context of booking a hotel. In this guide, we will look into a simple customization that changes the text such as ‘Number of days selected’ displayed on the product page.
Solution: Customize the ‘Selected No of Days’ Text Displayed when using a Booking and Appointment Plugin
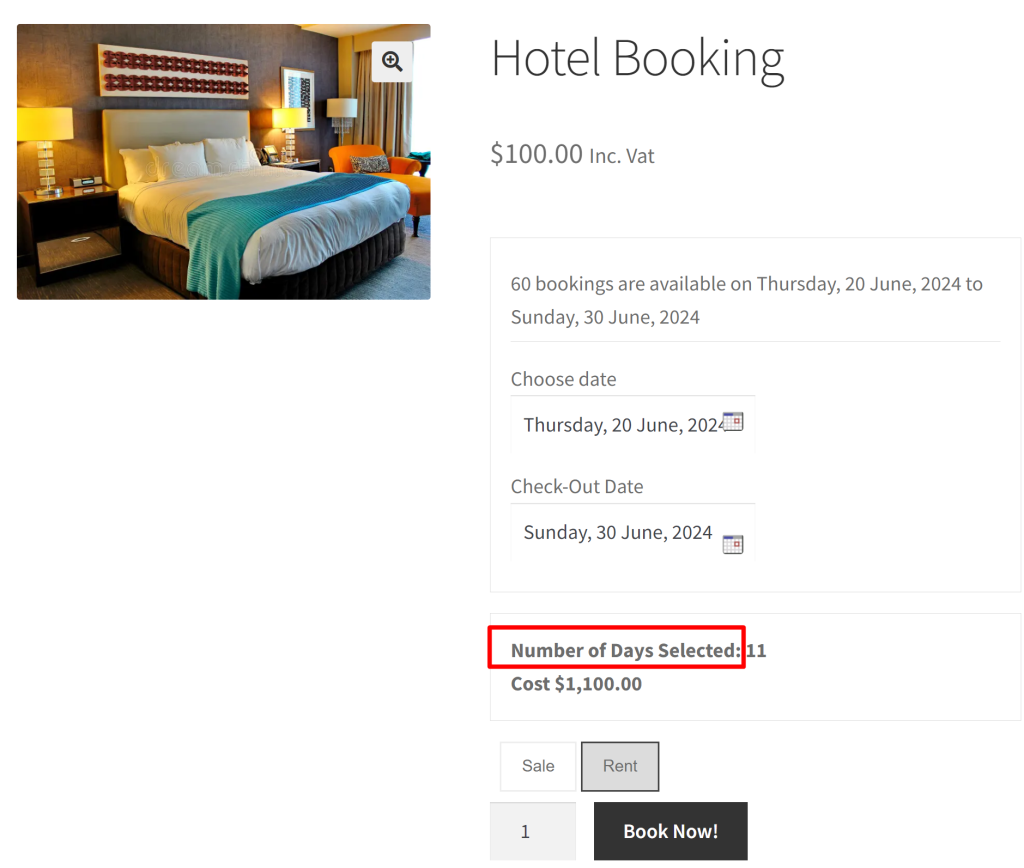
When products are categorized under the ‘Multiple Nights’ booking type in the WooCommerce Booking and Appointment plugin, the front-end booking interface displays the text “Number of Days Selected” for these products. This code snippet effectively modifies the label from “Number of Days Selected” to “Duration of Stay”.
/**
 * Change Number of Days text.
 *
 * @param string $text Number of Days string.
 * @param int    $product_id Product ID.
 * @param array  $booking_settings Booking Settings.
 */
function bkap_selected_days_label_callback( $text, $product_id, $booking_settings ) {

	$text = __( 'Selected Days:', 'woocommerce-booking' );
	return $text;
}
add_filter( 'bkap_selected_days_label', 'bkap_selected_days_label_callback', 10, 3 );
Output
When the customer visits the frontend of the booking page, the text will be modified from ‘No Of Days Selected’ to ‘Duration of Stay’ which is more relevant for booking a hotel.

When the customer books a hotel using the Booking and Appointment plugin for WooCommerce, the default text shown after selecting the check-in and checkout dates is ‘No of Days Selected’, as shown below.

Similar to the above customization, for products requiring resources such as staff, and equipment we can make it more personalized by changing the ‘Select Resource’ text shown on the shop page to something more appropriate.


