


When a product goes out of stock in WooCommerce, the default message simply says “Out of stock”, which is just a static text. Many store owners want a more actionable and engaging message, allowing customers to easily request a notification when the product is back.
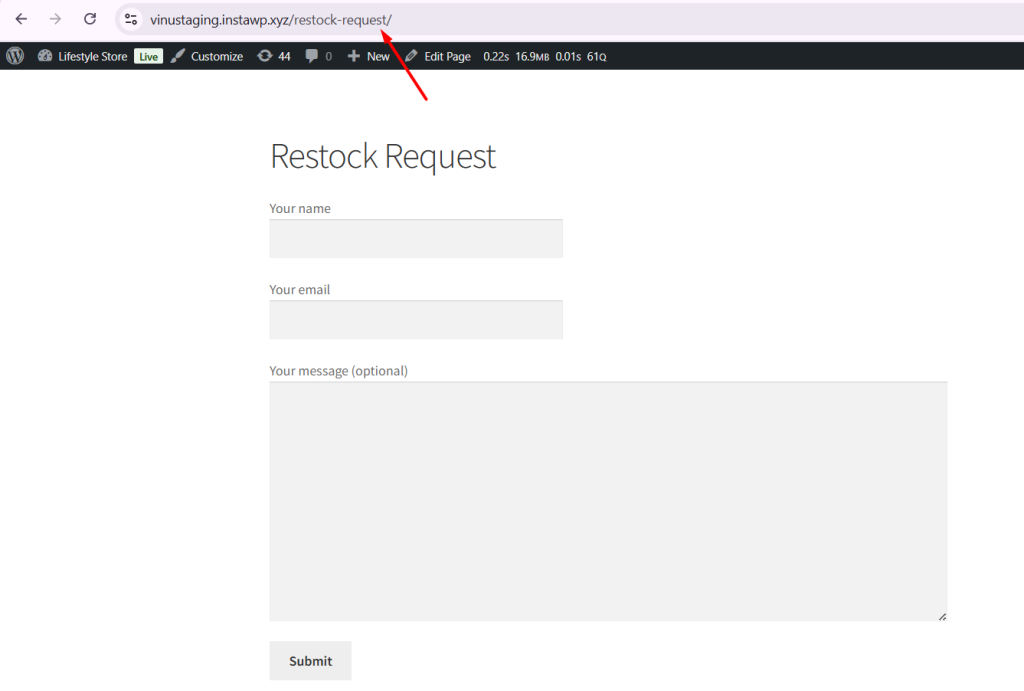
In this guide, we’ll show you how to replace the default out-of-stock text with a fully clickable message that redirects customers to a “Restock Request” page.
Solution: Add Custom “Out of Stock” Messages with Links in WooCommerce
The code modifies the default out-of-stock message to be clickable, directing customers to a restock page where they can submit their restocking request.
add_filter( 'woocommerce_get_availability', 'ts_custom_outofstock_message_full_link', 10, 2 );

function ts_custom_outofstock_message_full_link( $availability, $product ) {

    if ( ! $product->is_in_stock() ) {

        // URL of your restock request page
        $restock_page = site_url( '/restock-request/' );

        // Make the entire text clickable
        $replacement = sprintf(
            '<a href="%s" class="restock-link">%s</a>',
            esc_url( $restock_page ),
            esc_html__( 'This item is currently out of stock.', 'woocommerce' )
        );

        $availability['availability'] = $replacement;
    }

    return $availability;
}
Output
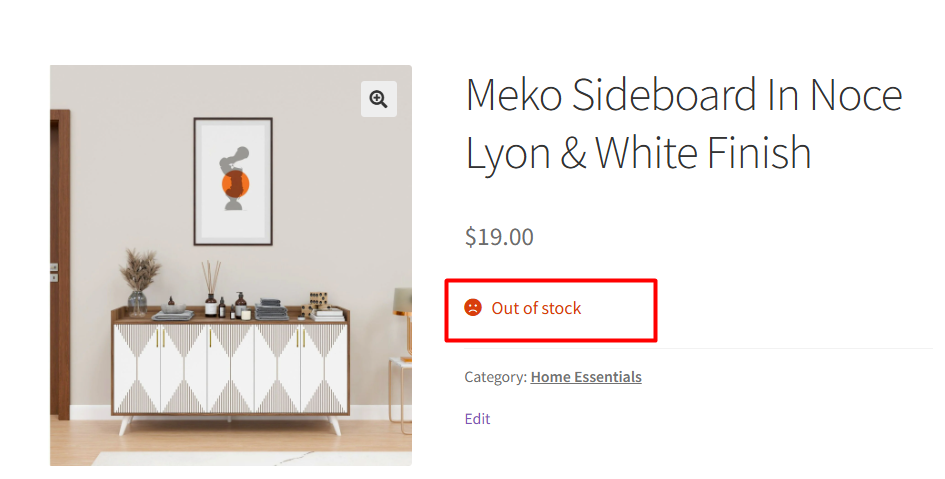
Normally, when a product goes out of stock, WooCommerce simply displays “Out of stock” on the product page.
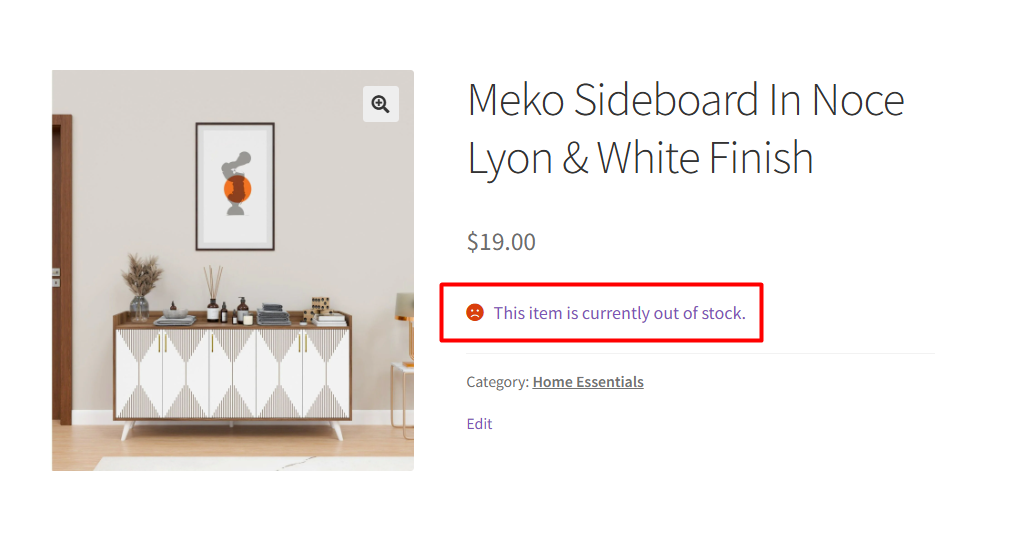
With this snippet applied, the entire out-of-stock message becomes clickable.

When a customer clicks on it, they are redirected to a specific page that you have defined (for example, a “Restock Request” page).
While making out-of-stock messages clickable is a great way to engage customers, you can also improve your product pages by hiding out of stock variations in woocommerce shop and product page. This ensures shoppers see only what they can buy, creating a smoother browsing experience.

