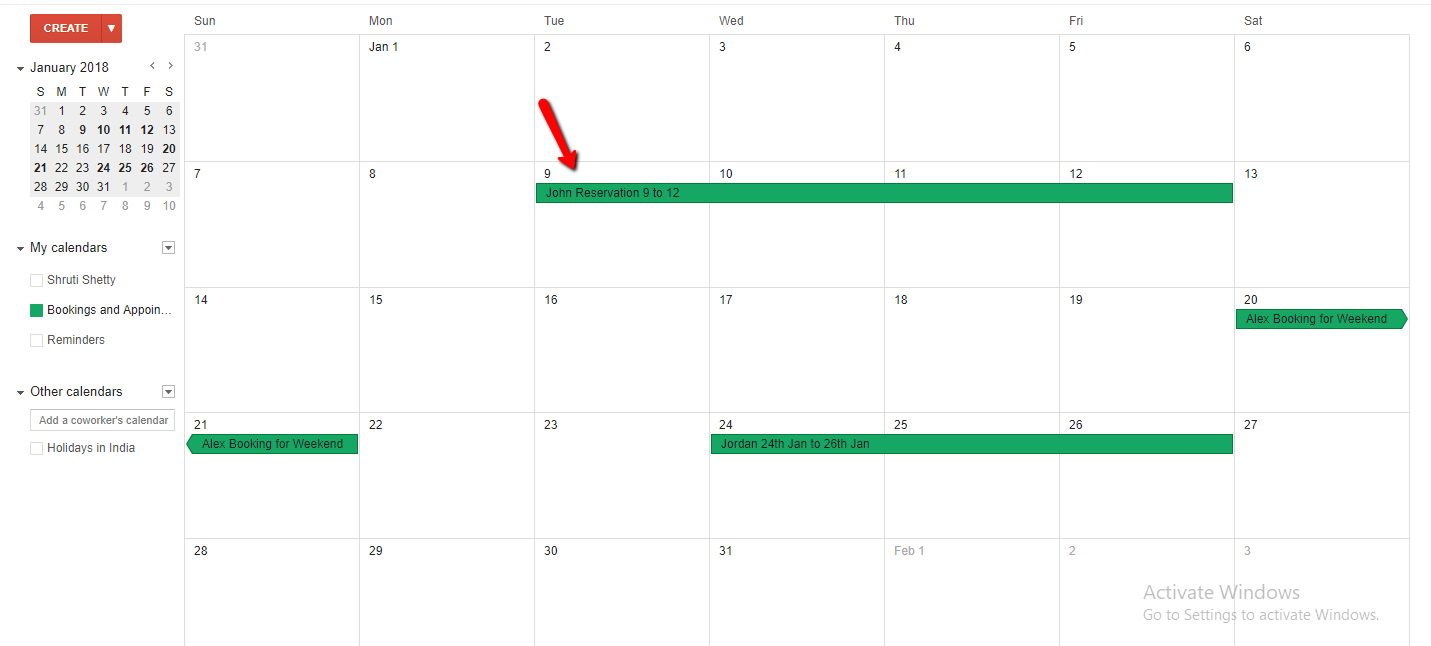
In one of our post, we saw how to Export Bookings to the Google calendar. In this post, we are going to see how to import the events from the Google Calendar to your website and map events to the bookable product on WooCommerce store using Booking & Appointment Plugin for WooCommerce.
Essentially, we have Import Bookings feature at two levels. One is at the Global Level and another at the Product level.
The Global Level import booking requires you to manually map the imported events to bookable products on your WooCommerce store
The Product Level import booking is required for automatically mapping the events with the available bookable products in your WooCommerce store.
In this post, we will understand step by step setup for the Global Level import. The setup of Product Level import will be explained in our next post.
Step 1: Calendar Settings in Google Calendar
Firstly, we need to create a calendar from which we are going to import the events.
For doing that go to Google Calendar, click on My calendars and then click on Create new calendar. Then give the appropriate Calendar Name and click on Create Calendar.

Once clicked on Create New Calendar, it will navigate to Create New Calendar page where we have to set the Calendar Name. I have set the calendar name as Booking and Appointment Details.

You can skip this step if you have an existing calendar from where you want to import the events & go directly to Step 2.
Step 2: iCalendar/.ics Feed Setup for Import Booking
Now you need to enter the iCalendar/.ics Feed URL of the calendar from which you want to import the events to your website in Booking -> Settings -> Google Calendar Sync under our Booking & Appointment Plugin menu on WordPress dashboard.
You will get the iCalendar/.ics Feed URL of your calendar in the following ways:
a. If the calendar from which you want to import the events is a private calendar, then copy the .ics URL from the Google Calendar page under Calendar Settings -> Private Address and click on ICAL button and copy the ICAL URL .

b. If the calendar is public calendar then it’s necessary to ensure that the Share only my free/busy information (Hide Details) checkbox is unchecked in Google Calendar page inside Calendar Settings -> Share this Calendar. This is to ensure that the plugin can capture the event summary & event description.

Paste the copied ICAL URL in Booking -> Settings -> Google Calendar Sync under the Import Events section in iCalendar/.ics Feed URL field in our Booking & Appointment plugin.

If you want to import events from multiple calendars then click on Add New ICS feed URL button. Our Booking & Appointment Plugin for WooCommerce will allow you to import events from multiple calendars. You only need to add the ICS feed URL of each calendar here.
Step 3: Creating events in Google Calendar
Once the Feed URL is set, create an event in the calendar for the dates which you need to import.
You can skip this step if the events are already created in the Google Calendar and go to step 4.

Step 4: Importing the event from Google Calendar
You can manually import an event by clicking on Import Events button available next to the added iCalendar/.ics Feed URL field in Booking -> Settings under Google Calendar Sync tab in Booking & Appointment Plugin menu.

Alternately, the plugin will also import the events automatically from the saved iCalendar/.ics Feed URLs using the script that executes periodically in our plugin.
The periodic execution of the import script is implemented via WP-Cron.
This script is scheduled to run automatically after an interval of time set in Run Automated Cron after X minutes option in Booking -> Settings under the Google Calendar Sync option of Booking & Appointment Plugin menu. The default time interval is set to 1440 minutes(24 hours).

The schedule for running the import script periodically can be changed. You have to mention the interval time in minutes. If you want to import events from the calendars every 1 hour, then you need to set Booking -> Settings -> Google Calendar Sync -> Run Automated Cron after X minutes to 60.
In case the events from the Google Calendar are not listed on Import Booking page then check whether the link entered in iCalendar/.ics Feed URLs option is correct for the calendar from which you are importing the events.
Also, try searching for the event on Import Booking page in Search Google Event because there are chances that the imported event will go on some another page when many events are imported at a time.

That’s it. We have successfully done the setup for Importing the events from Google Calendars to your website. All the imported events will be listed on the Booking-> Import Bookings page. Now let’s see how to map those events to the bookable products on your website.
Step 5: Mapping the Imported Event on Import Booking page
Since we are doing Global Level import, we don’t yet know which bookable product or service these events should be added for. In order to accomplish this, we first show all the imported events on the Import Booking page.
From this page, each event needs to be mapped to its appropriate product. Unless this is done, the availability of the product won’t be updated. This is one of the primary reasons we recommend to only use Product Level import & not Global Level import. As Global Level import requires manual intervention during the mapping stage whereas Product Level booking is a fully-automated import solution.
To map the imported event list on this page, select the product from Select a product drop down and click on Map Event button to map the event with the selected product.

Once the event is mapped to the selected product then an order is generated and availability will be updated for the product.
If the selected product is not available for booking then it will display the message The product is not available for the given date for the desired quantity and the imported event will not get mapped with the respective product.

You can delete the imported events in a bulk or also by selecting the events individually from Import Booking option under Booking menu of our Booking & Appointment plugin.
a. To delete the imported events in bulk, check the checkbox beside Event Summary and select Delete Events from the drop-down and click on Apply.

b. To delete the events individually, select the particular events you want to delete select Delete Events from the drop-down and click on Apply.

Conclusion:
In this post, we saw the complete setup of mapping the imported event with the Bookable product at Global Level. This is how the event is imported from the Calendar and is mapped to the bookable product.
Importing and mapping events are more important when you are taking bookings from more than one place.
For example, If you rent out apartments and have 5 apartments available on any given date.
If you take bookings from multiple places, like your site as well as bookings on phone and have your product listed on other websites too, it becomes necessary to ensure no overbookings are done.
This can easily be managed by using the 2 way Google Calendar Sync feature of the Booking & Appointment Plugin.
Whenever you take a booking from any source other then your website, all you need to do is create an event for the same in your Google Calendar. The Booking plugin will then import the event into the website.
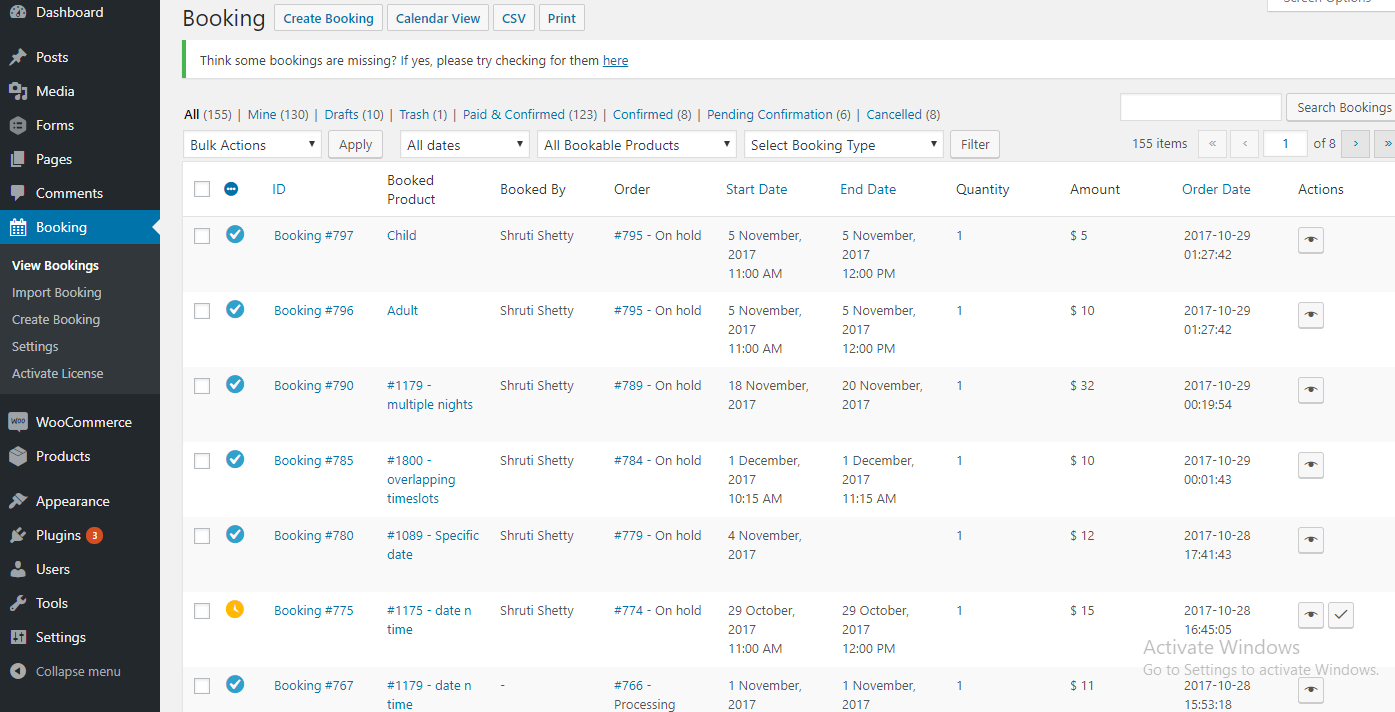
Then you have to map it manually to the desired product and an order will get generated in WooCommerce -> Orders and availability will be updated. You can also keep a track of all the bookings received from Google Calendar in the Booking -> View Bookings page.
As mentioned earlier, we don’t recommend using Global Level import if you want to achieve a fully automated import process. Please use Product Level import for that purpose, which will be explained in our next post.
The setup can take around 10 minutes to complete if you are setting it for the first time.


