


In an earlier post, we saw how to display a trust seal on the single product page under the ‘Add to Cart’ button. Another possibility would be to add a trust seal on the cart or checkout page (guarantee safe checkout)
As we said earlier, a trust badge, security seal or simply put, guaranteed safe checkout will increase the buyer’s confidence. Customers are more likely to buy from your website if they feel confident about your product & your checkout process. These badges or seals also help in increasing your conversion rate.
WooCommerce provides lots of hooks & filters to add content on our website. But which hook/filter we should use depends on the position of the content on the page. We will add the trust badge below the ‘Proceed to Checkout‘ button on the cart page and below the ‘Place order‘ button on checkout page.
Where to Add Custom Code in WooCommerce?
It is advisable to add the code snippets to the functions.php file of your child theme. Access the file directly from Appearance->Theme File Editor->Locating the child theme’s functions.php from the right sidebar. You can also access it from your theme’s directory file. Insert the following code snippet in functions.php. The alternative & easy option is to install & activate the Code Snippets plugin. You can then add the code as a new snippet via the plugin.
Adding a trust Badge or Guarantee Safe Checkout on WooCommerce Cart page:
Let’s start by adding the badge on the cart page. As we have decided to add the badge below the ‘Proceed to Checkout’ button, we will use the WooCommerce hook called woocommerce_after_cart_totals.
Below is the code snippet.
add_action( 'woocommerce_after_cart_totals', 'ts_display_trust_seal_image_in_cart_page' );

function ts_display_trust_seal_image_in_cart_page() {
  // Get the trust seal image URL.
  $trust_seal_image_url = 'https://res.cloudinary.com/do2y26dyd/image/upload/v1696840366/Trust_Seal_pkd8kn.png';

  // Display the trust seal image.
  echo '<img src="' . $trust_seal_image_url . '" alt="Trust seal" width="100%"/>';
}
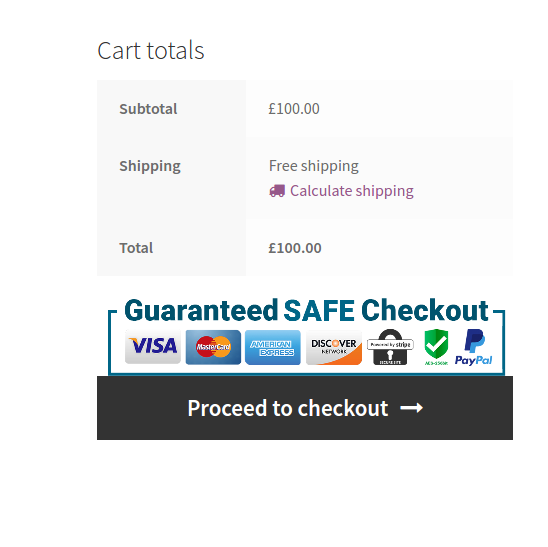
In the above function, we echo our trust seal image on the cart page. Here is how it will look like –
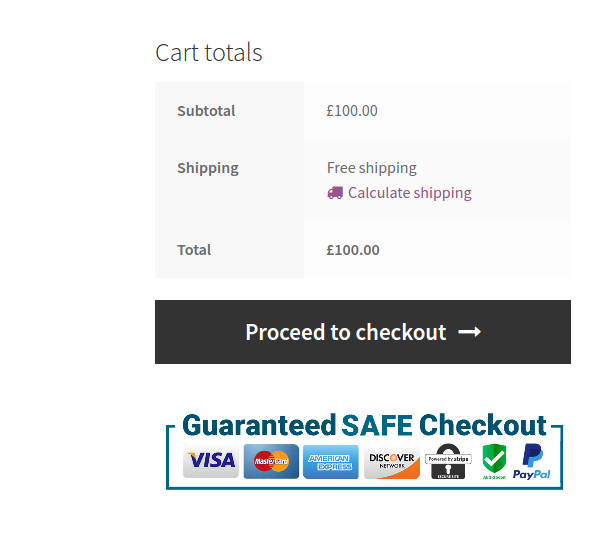
If you want to display the trust seal above the button, use the woocommerce_proceed_to_checkout hook instead.
Adding a trust Seal or Guarantee Safe Checkout on WooCommerce Checkout page:
Now let’s add the seal on the checkout page. We will display it under the ‘Place Order’ button with the WooCommerce hook called woocommerce_review_order_after_payment.
add_action( 'woocommerce_review_order_after_payment', 'ts_display_trust_seal_image_on_checkout_page' );

function ts_display_trust_seal_image_on_checkout_page() {
  // Get the trust seal image URL.
  $trust_seal_image_url = 'https://res.cloudinary.com/do2y26dyd/image/upload/v1696840366/Trust_Seal_pkd8kn.png';

  // Display the trust seal image.
  echo '<img src="' . $trust_seal_image_url . '" alt="Trust seal" />';
}
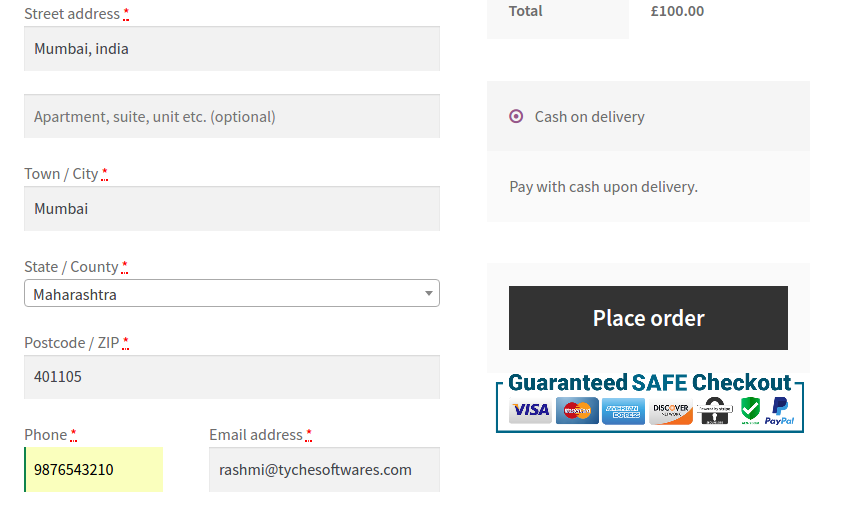
The function is same as the cart page, only the WooCommerce hook has changed. Again there are various places on checkout page where you can display the seal. Here’s how it will look like –
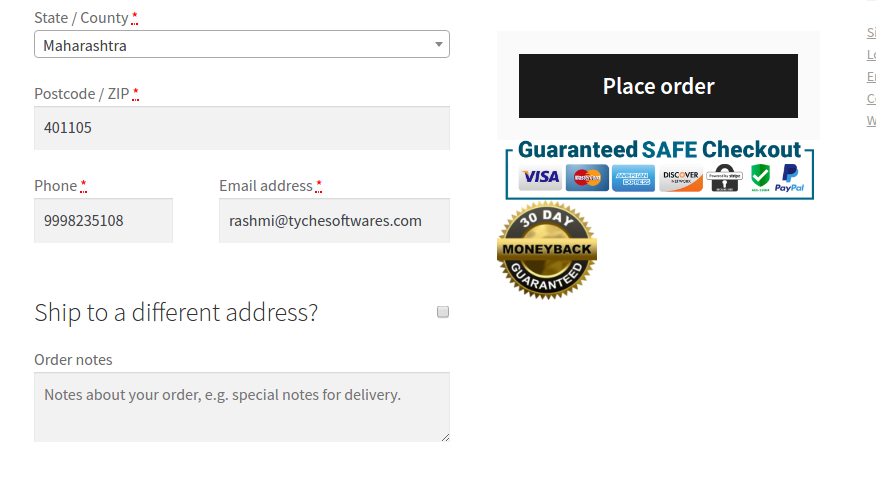
Here is another example with 30 day money back guarantee trust seal –
If you want to learn more about which hooks to use to place content on the cart or checkout page, these are two great visual guides –
If you are not comfortable with customizing the code, there’s a plugin called – WooCommerce SSL Seal, which will let you display a default or custom image on the checkout page.
If you don’t have any trust badge on your store which can increase your buyer’s confidence, you should be adding it right away. Several options like TrustLock Verification are also available for including a trust badge on your website. Anything you can do to increase trust will help increase your sales on your WooCommerce store.


21 thoughts on “How to Add a Trust Badge or Seal On WooCommerce Cart & Checkout Page”
The code is no longer works.
Hi Sreehari,
The code has been tested and works well with the latest versions of WooCommerce and WordPress. To fix the issue, try changing your theme to a default WordPress theme, and deactivate all plugins except WooCommerce to see if there’s any conflict. If the problem continues, let us know if you are testing the code in the new cart and checkout blocks page.
how to remove the guarantee safe image from the product page?
Succinct & exactly what I was looking for, thanks!
Hi Jeff, Thank you for your kind words! I’m so glad you enjoyed our post.
Thanks a lot. I was looking for this!
Could you please guide, how to exactly implement this?
Hi Ani,
To use the above code snippets, you first need to add them to your theme’s functions.php file. Instructions on how to do this can be found in the section on ‘Where to Add Custom Code in WooCommerce‘.
I added the code for the checkout page and got an error —
“Your PHP code changes were rolled back due to an error on line 0 of file Unknown. Please fix and try saving again.
Exception thrown without a stack frame”
I have no idea what this means. Can you shed any light on this?
Hi Mick,
We have updated the code snippets that add the trust seal image on the checkout page. Please refer to the heading – “Adding a trust Seal or Guarantee Safe Checkout on the WooCommerce Checkout page” in the above blog post.
3 years for a response is a bit rich
You’re right, Mick. We weren’t expecting this either. But since we are getting back to everyone who has commented on the post, we are replying to all the comments.
kindly i need to add trust badge seal to my checkout page , am using woocommerece and flatsome theme, i hope someone sends me how to do that step by step cuase i tried the above codes and it didnt work
am not a programmer, but i know to how to add codes to my website
Hi Ahmad,
I understand your concern regarding implementing code snippets on the checkout page.
To add a trust seal or guarantee a safe checkout image to the WooCommerce checkout page, you first need to follow the steps in the section on “Where to Add Custom Code in WooCommerce”. Once you have added the code snippet to your theme’s functions.php file, you can then refer to the section on “Adding a trust Seal or Guarantee Safe Checkout on the WooCommerce Checkout page” to correctly display the trust seal image.
Man when I add the code to function.php, it gives an error says something like unexpected public.
What should I do?
Hi Riba,
If you are getting an error that says “unexpected public” when you add the code snippet to your functions.php file, it is likely because the code snippet contains the public keyword.
Check our updated code snippets that display the trust seal image correctly on the cart & checkout page.
Thanks for this. This is very useful.
I would like to know how you can add a custom icon for the shipping method like in your picture.
Thanks for reading!
bro .i want to add trust seal after add to cart button. but where in editor i put the code .help
Hi Faisal,
Yes, You need to add the code snippets in the functions.php file. Also, I recommend you check out our post on “How to add a trust seal in WooCommerce after the Add to Cart button”. This post will help you add the trust seal image below to the add to cart button.
[You go to the trouble to give us the code, and don’t say where you put it. Thanks for nothing.
If you don’t know where to put it, you shouldn’t do it anyway.
Im a bit confuse.. im going to put this on function.php right? what i dont get is where in the code is the image source?
it has supposed to be image source right?
for example
Where is the image source on the code?
Hi Chloe,
Yes, You need to add the above snippet in the functions.php file. I recommend referring to the section “Where to Add Custom Code in WooCommerce” in the above post.
To add the image source to the code snippet, replace the $trust_seal_image_url variable with the URL of the image that you want to use. Save the functions.php file and upload it to your WordPress server. The trust seal or guarantee safe checkout image will now be displayed on the cart and checkout pages.
You can also see a better visual guide for adding trust seals to various sections using hooks with Woo commerce here: https://trustlock.co/install-trustlock-trust-badge-seals-on-woocommerce/